NOT NOT GLASS Photography/ Ink


Project Description
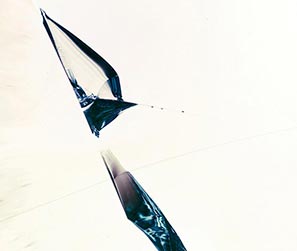
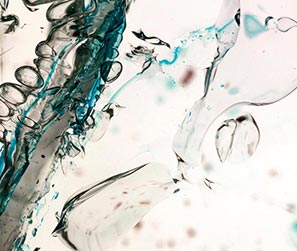
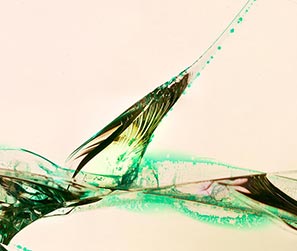
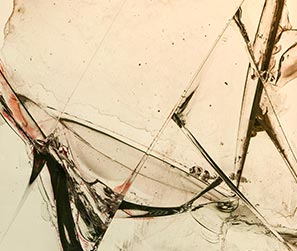
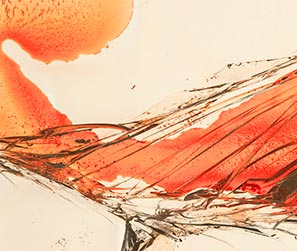
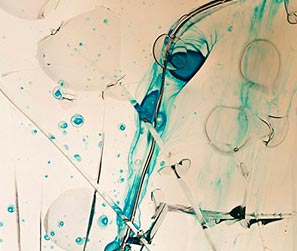
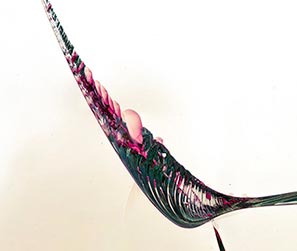
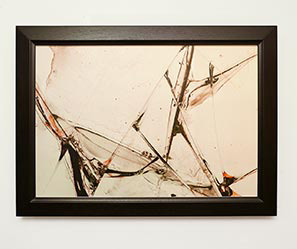
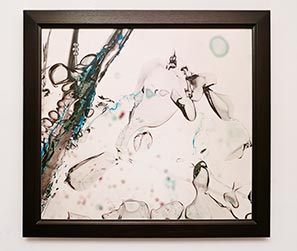
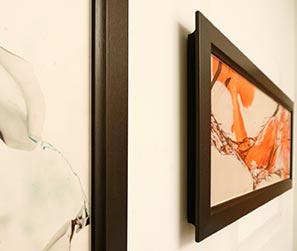
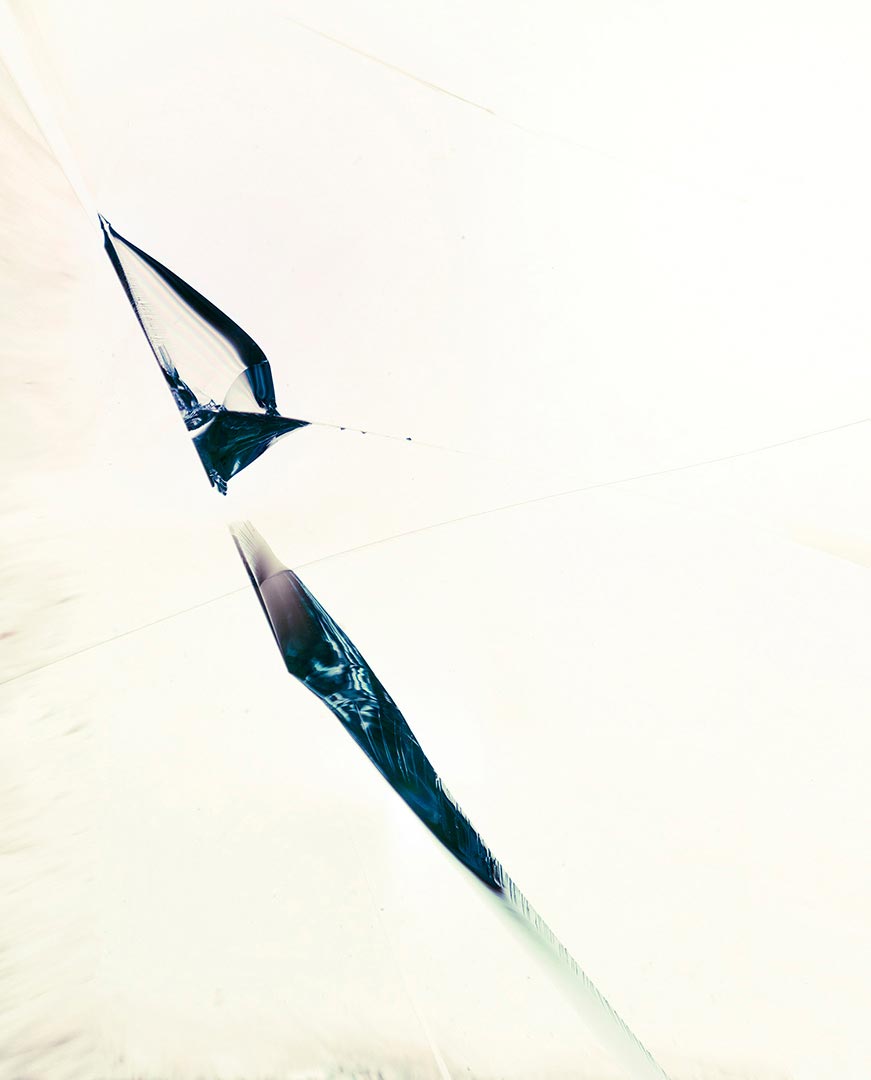
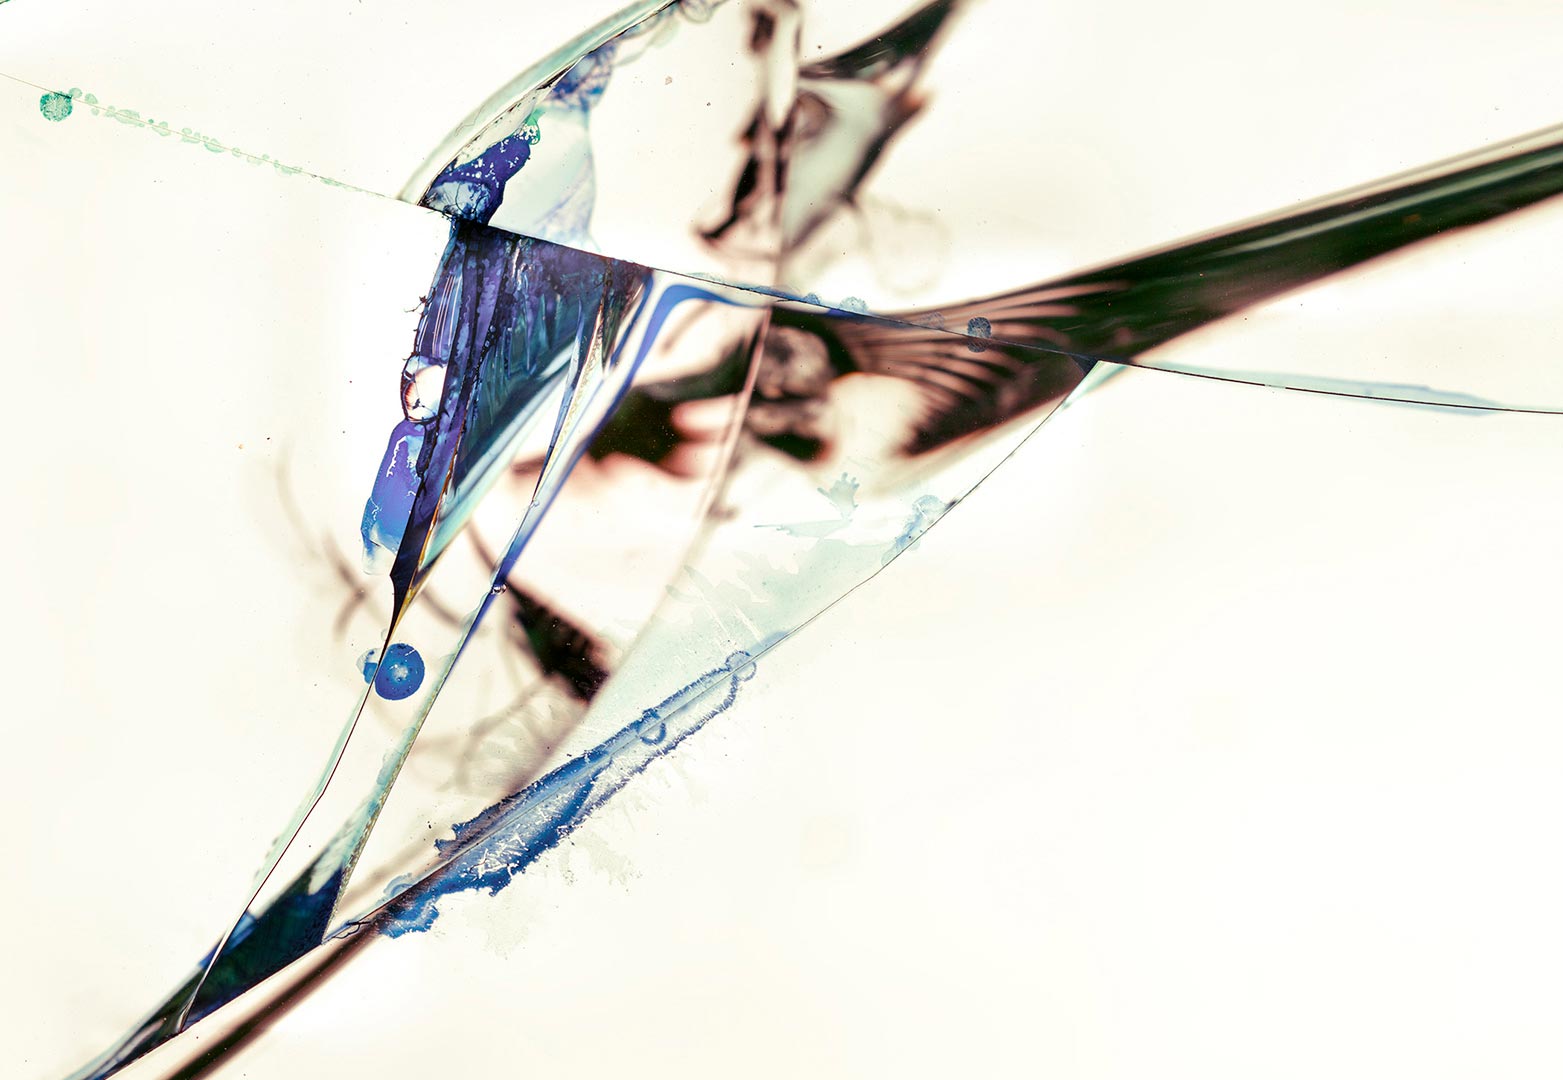
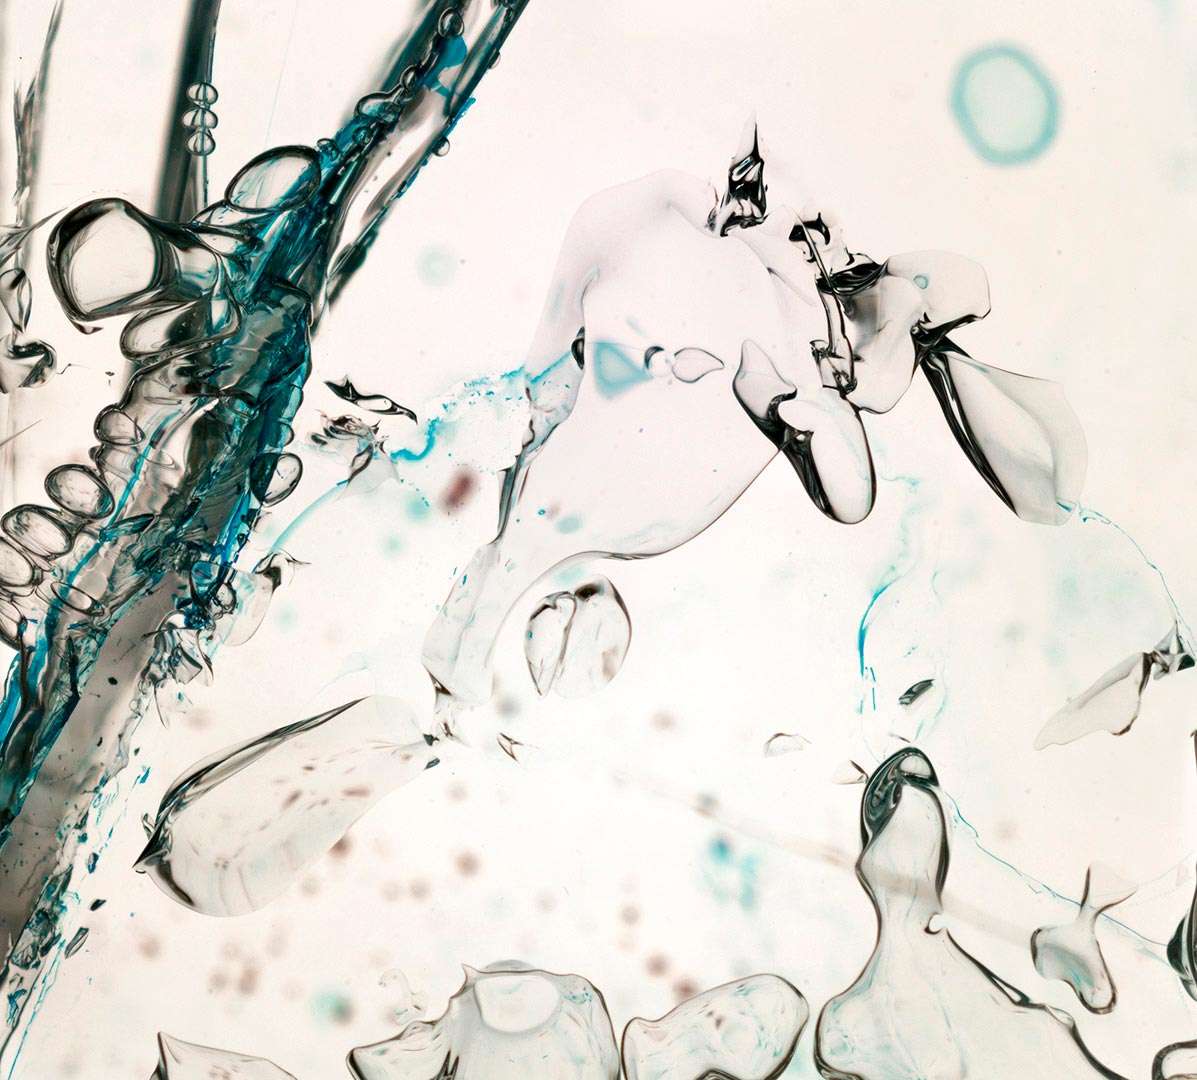
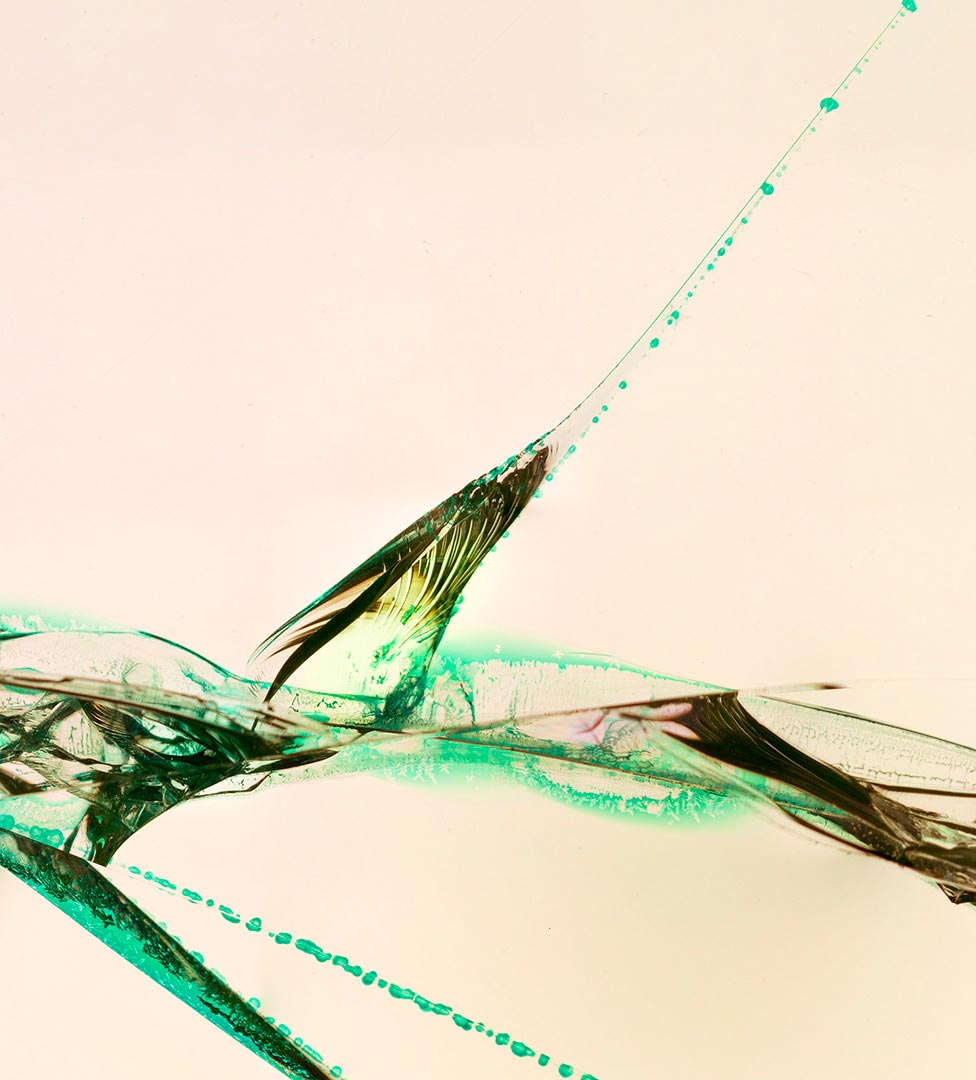
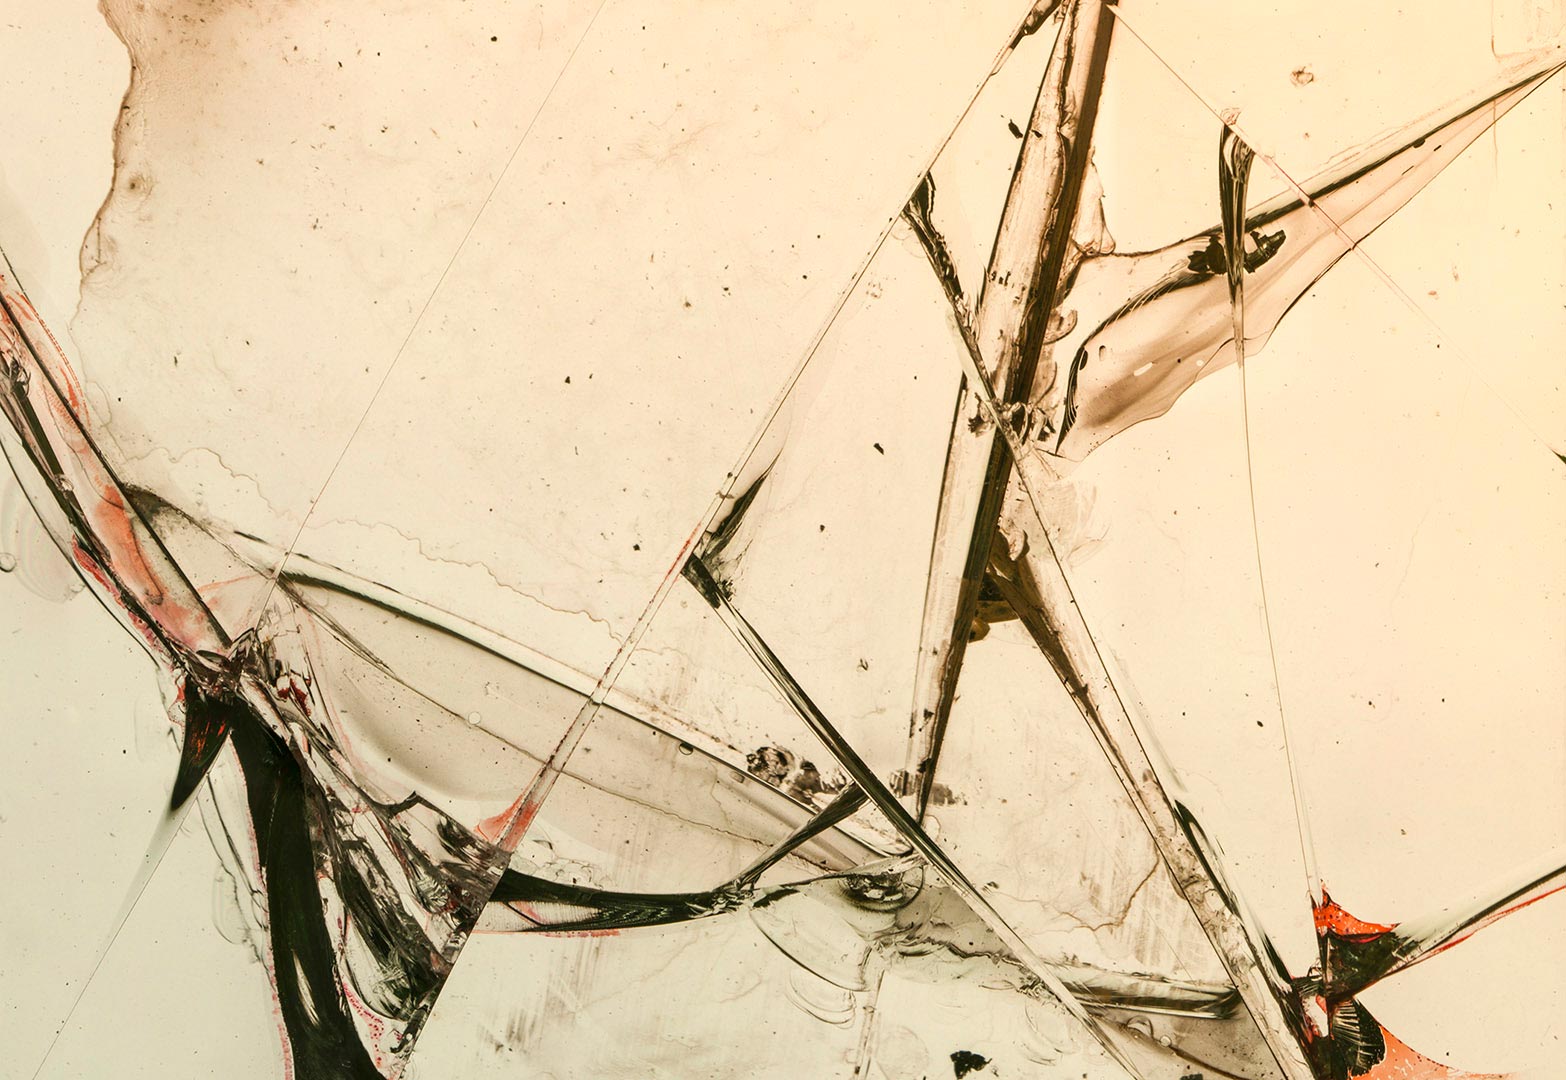
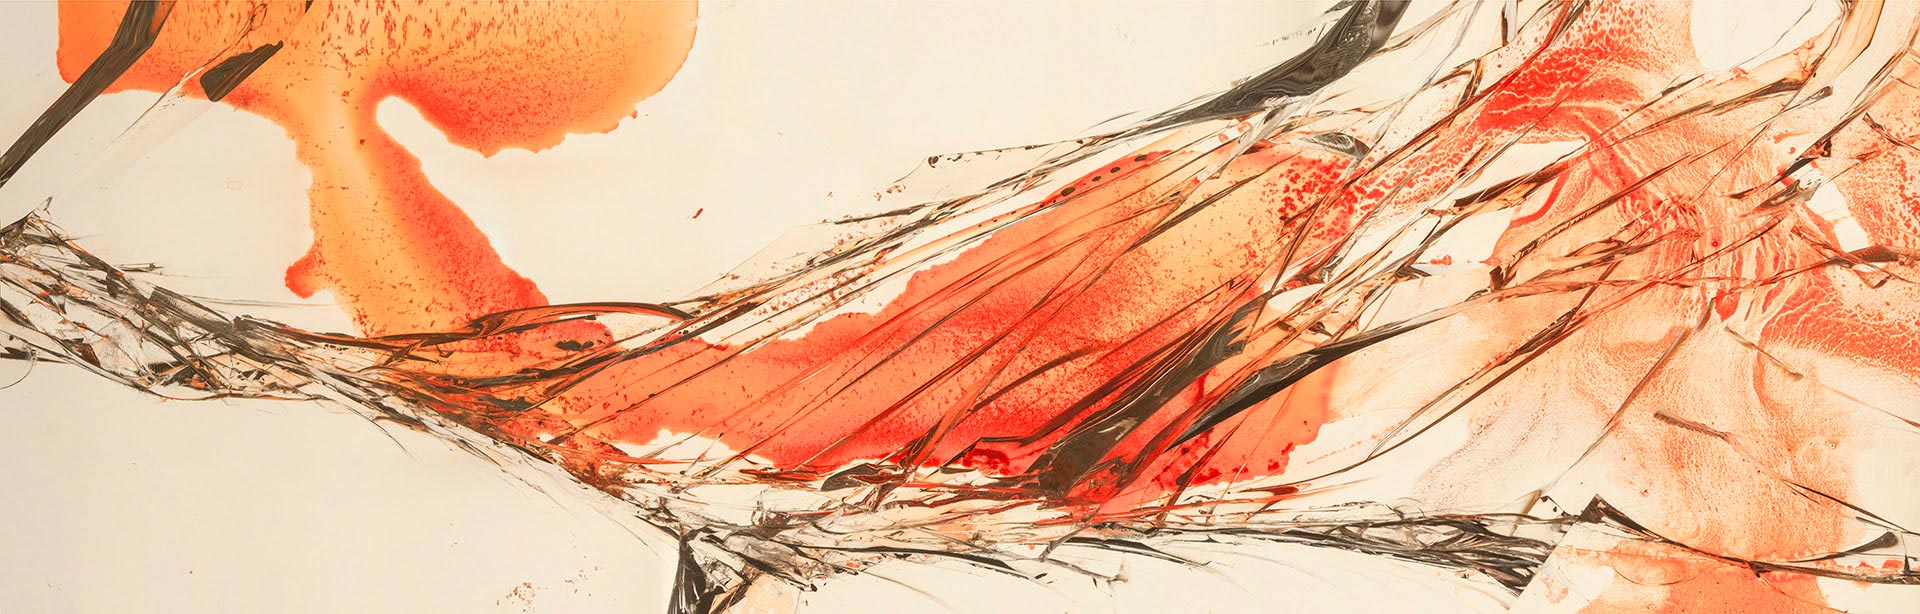
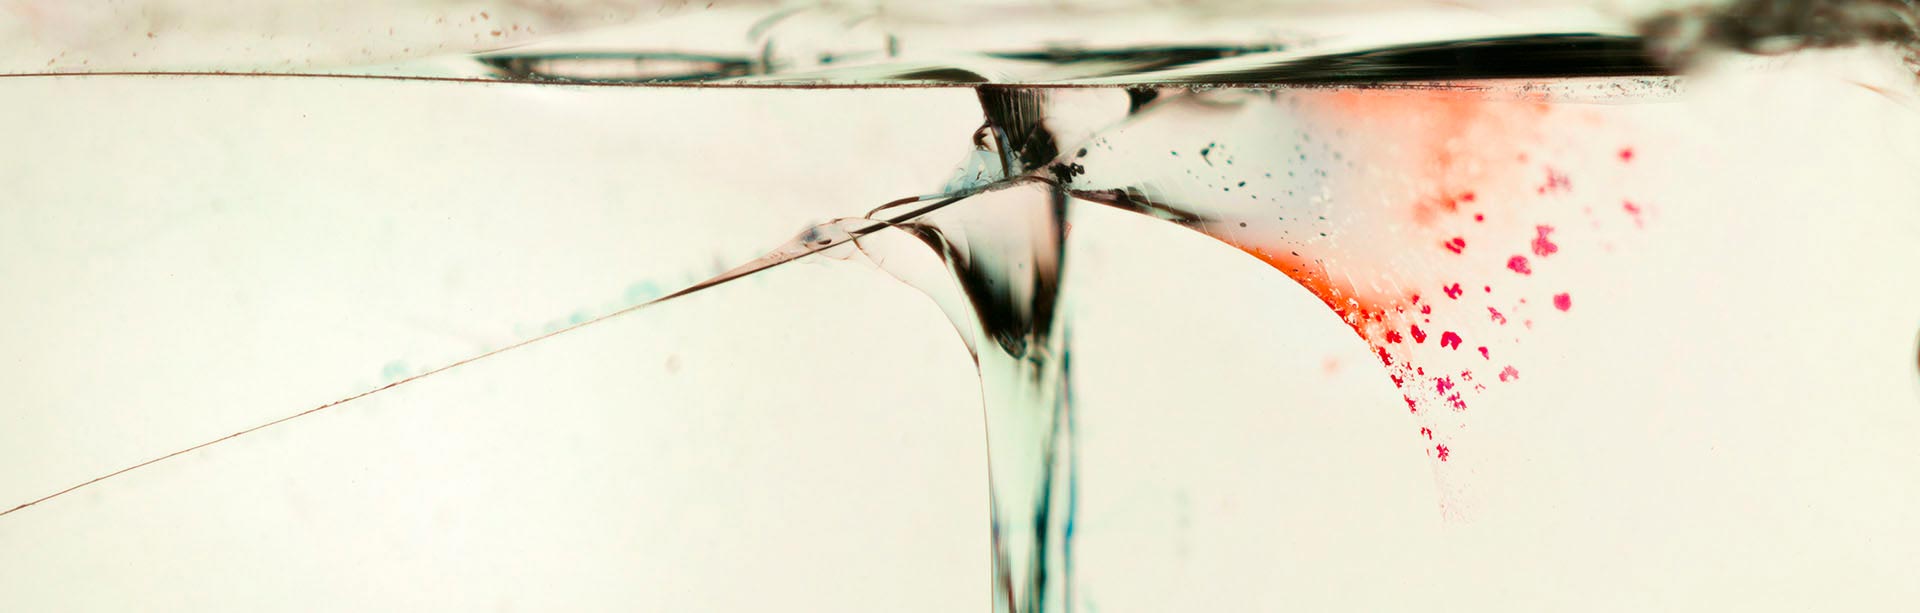
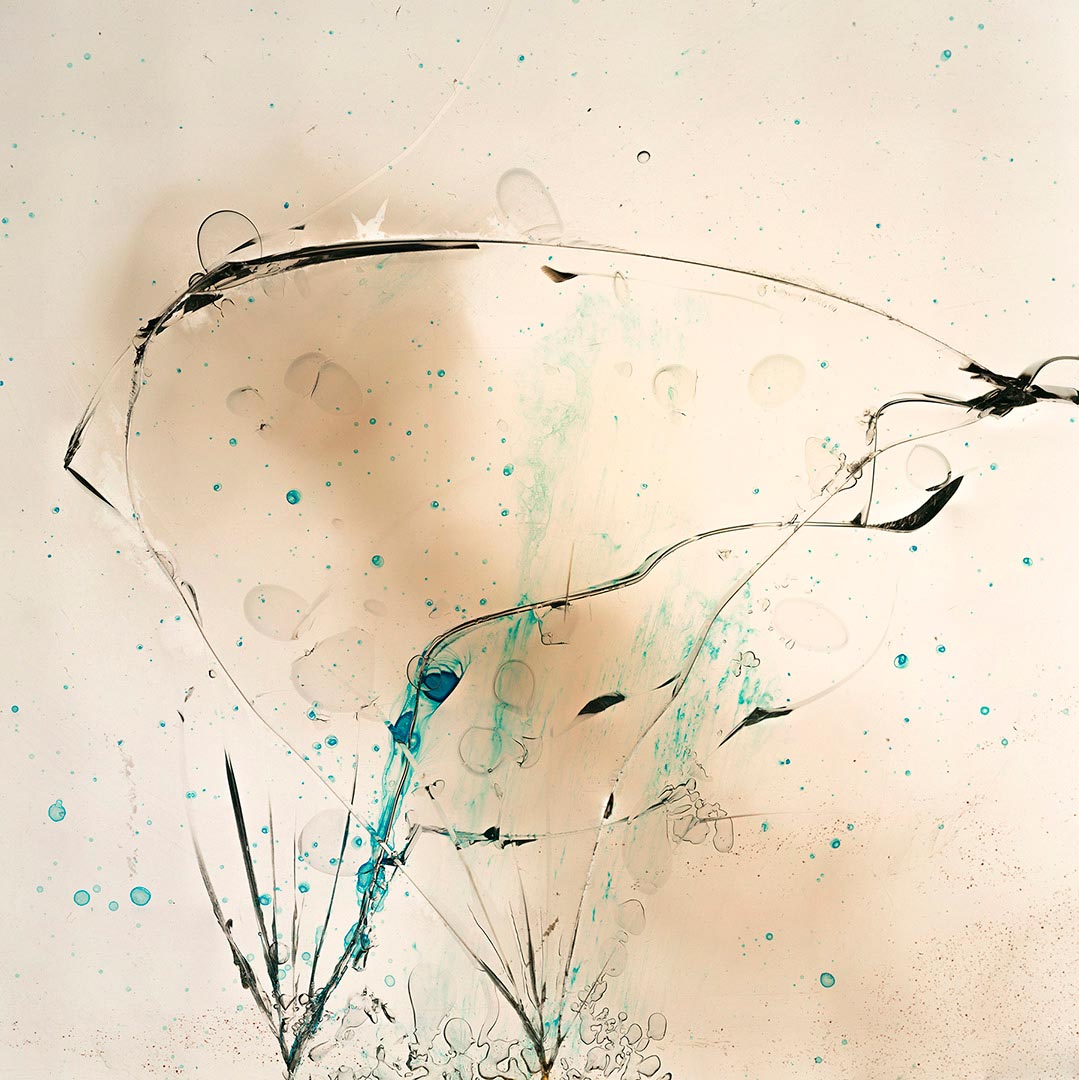
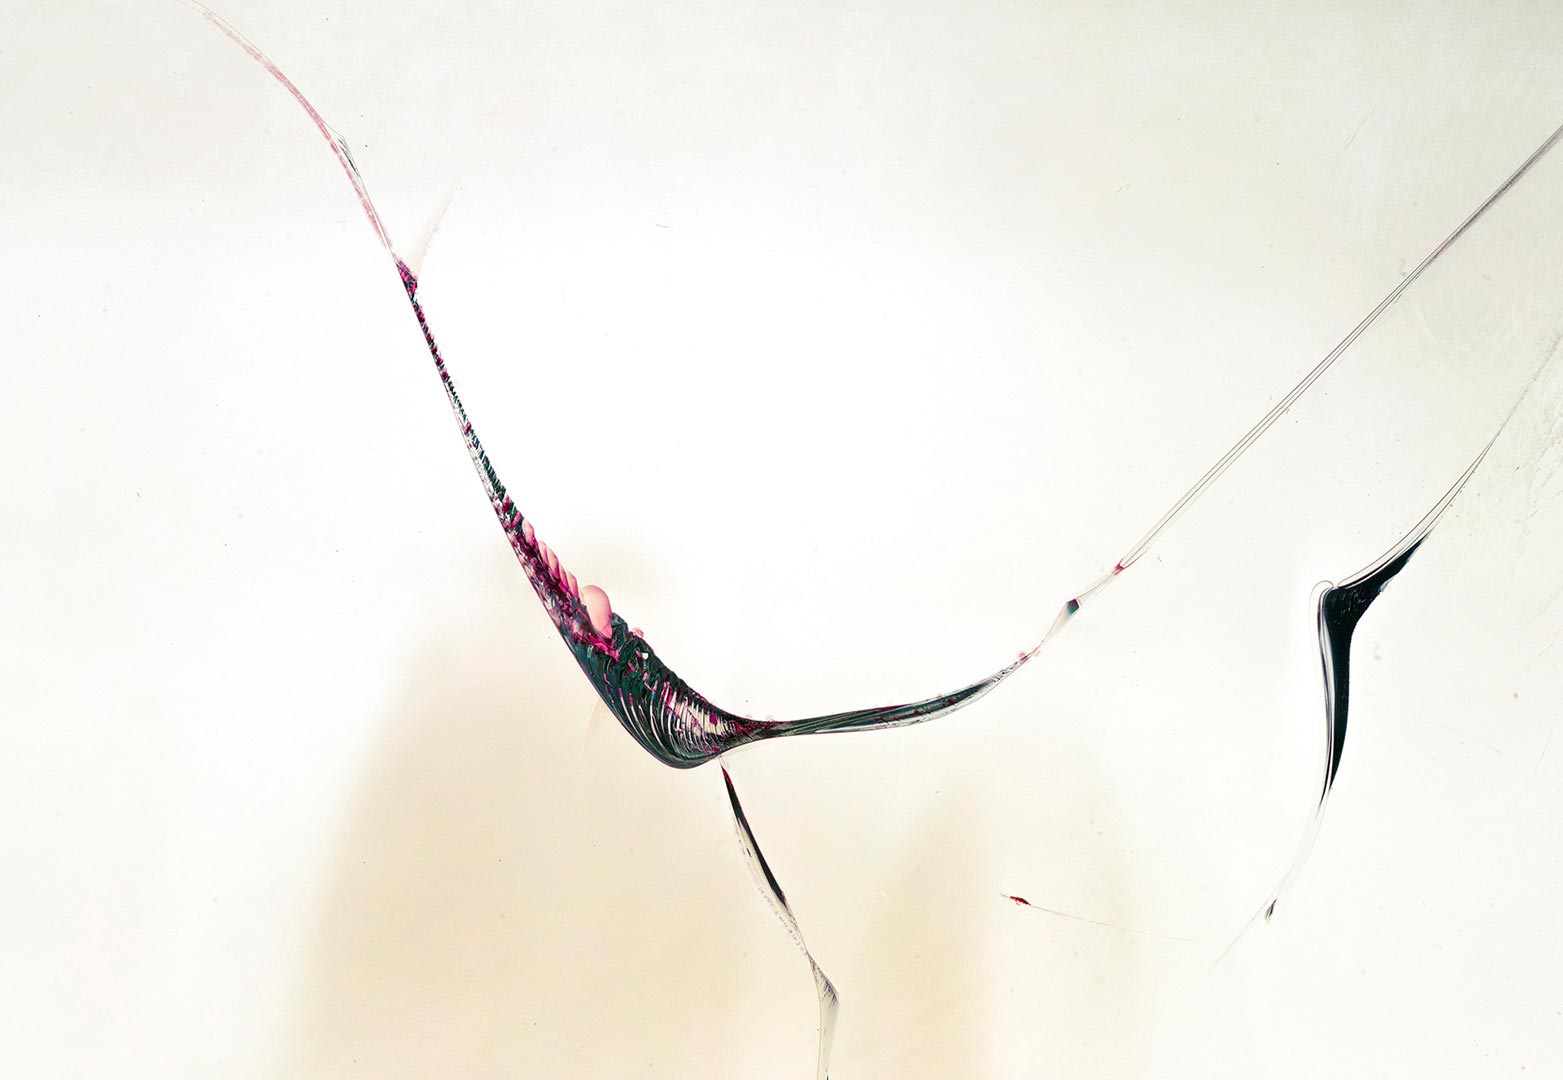
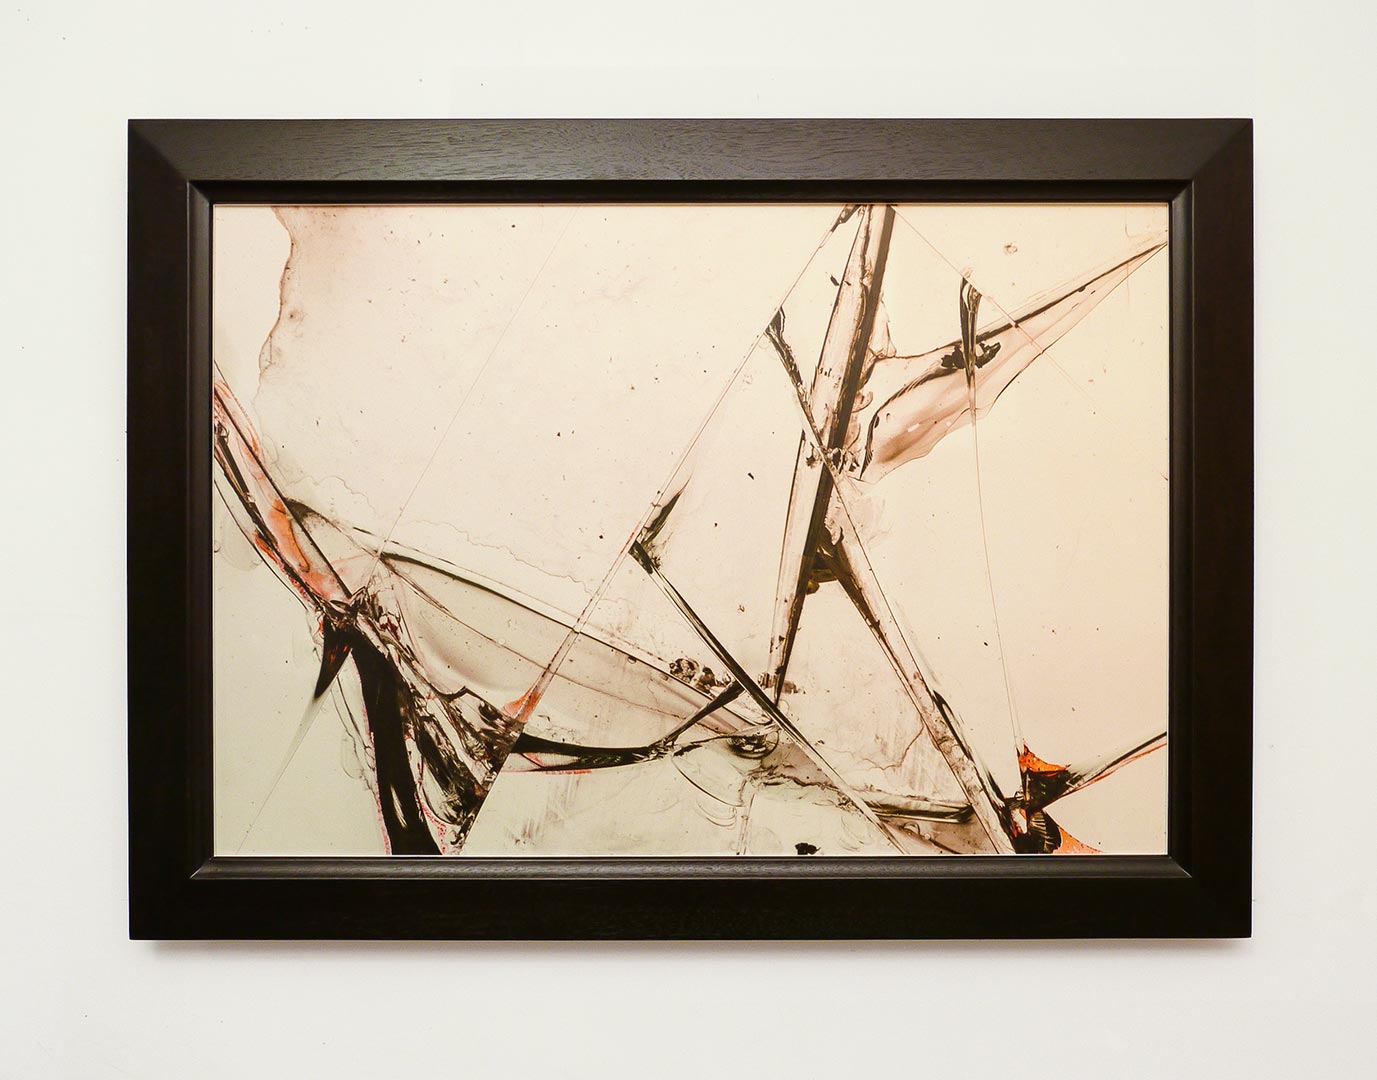
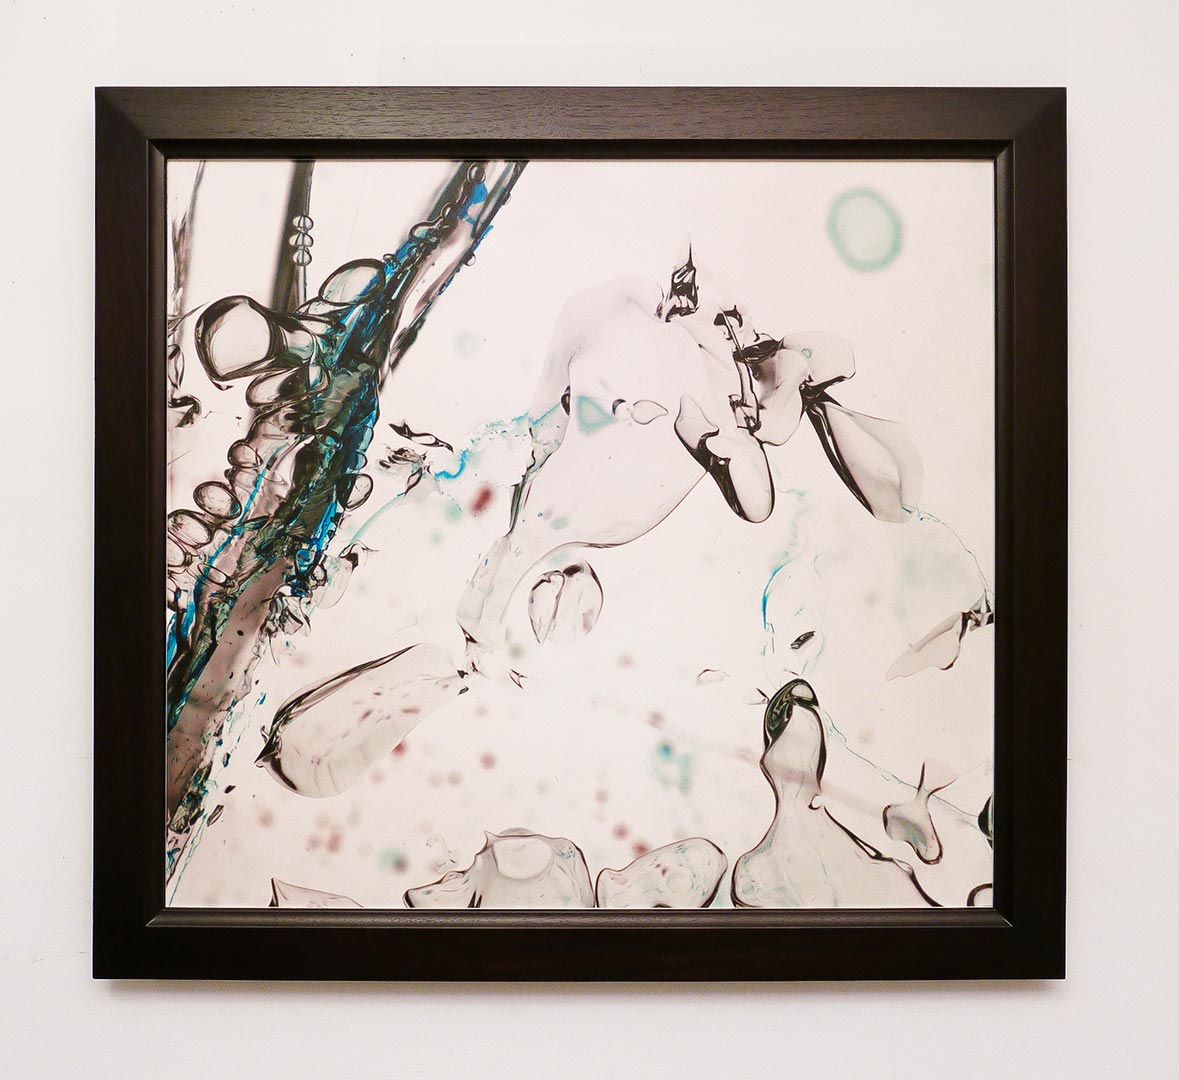
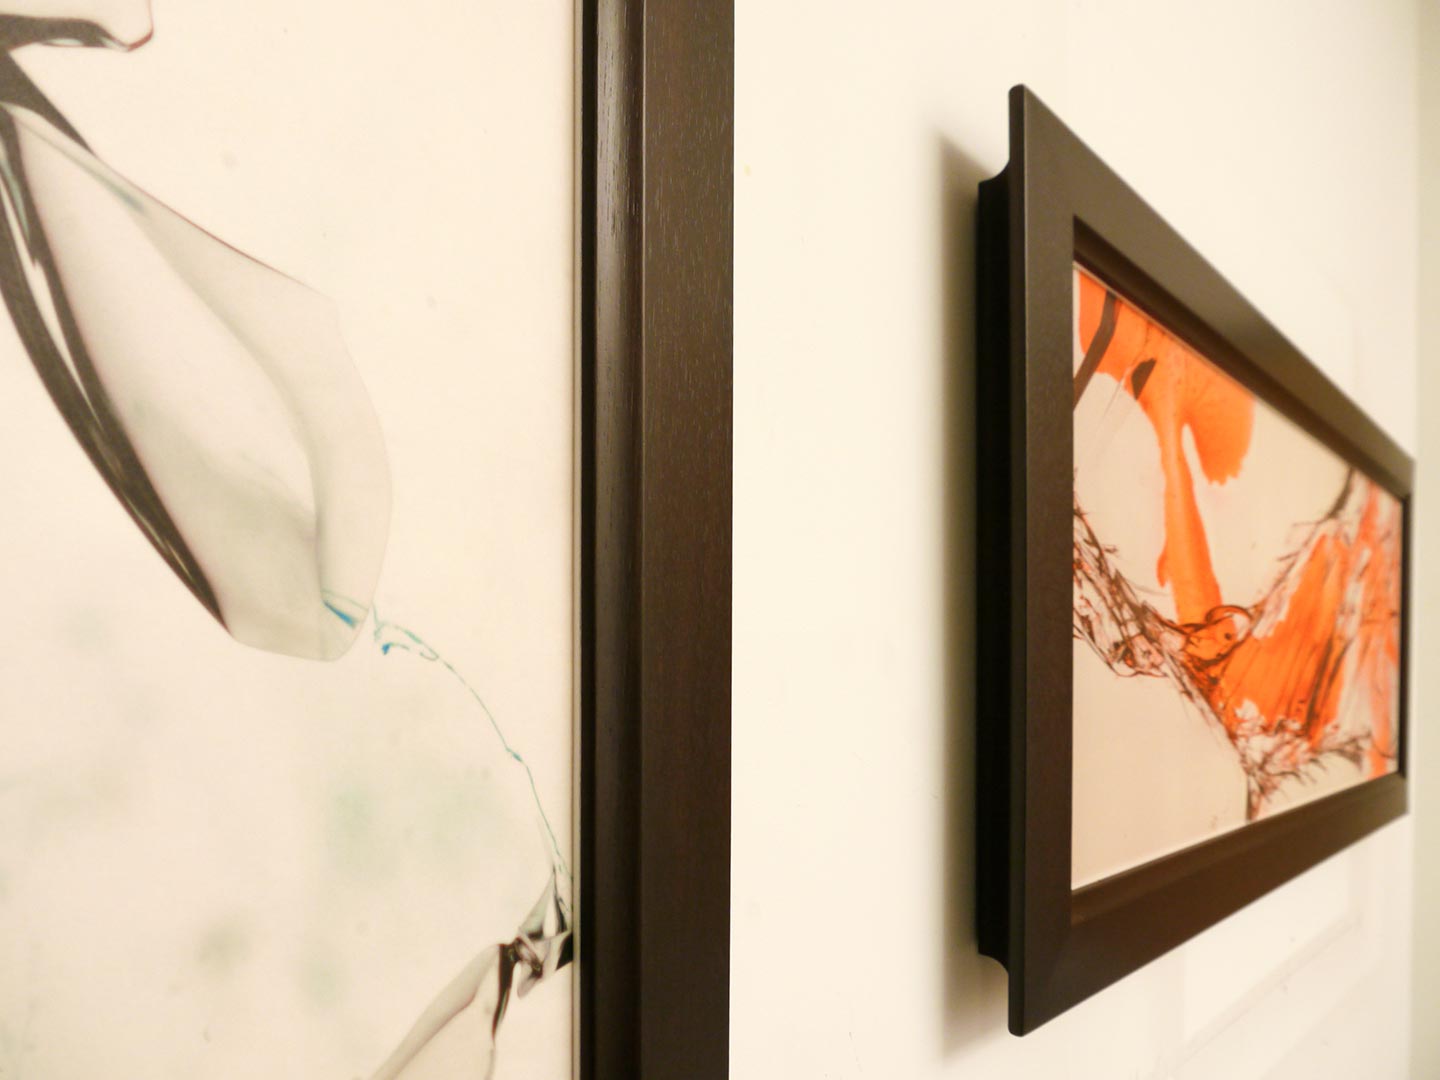
The images above are photographs, all printed to approximately 30"-50" in the longest dimension, and mounted to Dibond. Below is an in depth description of how they were discovered.
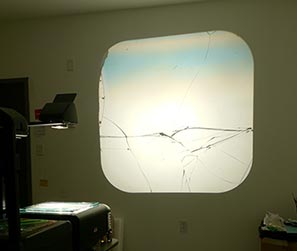
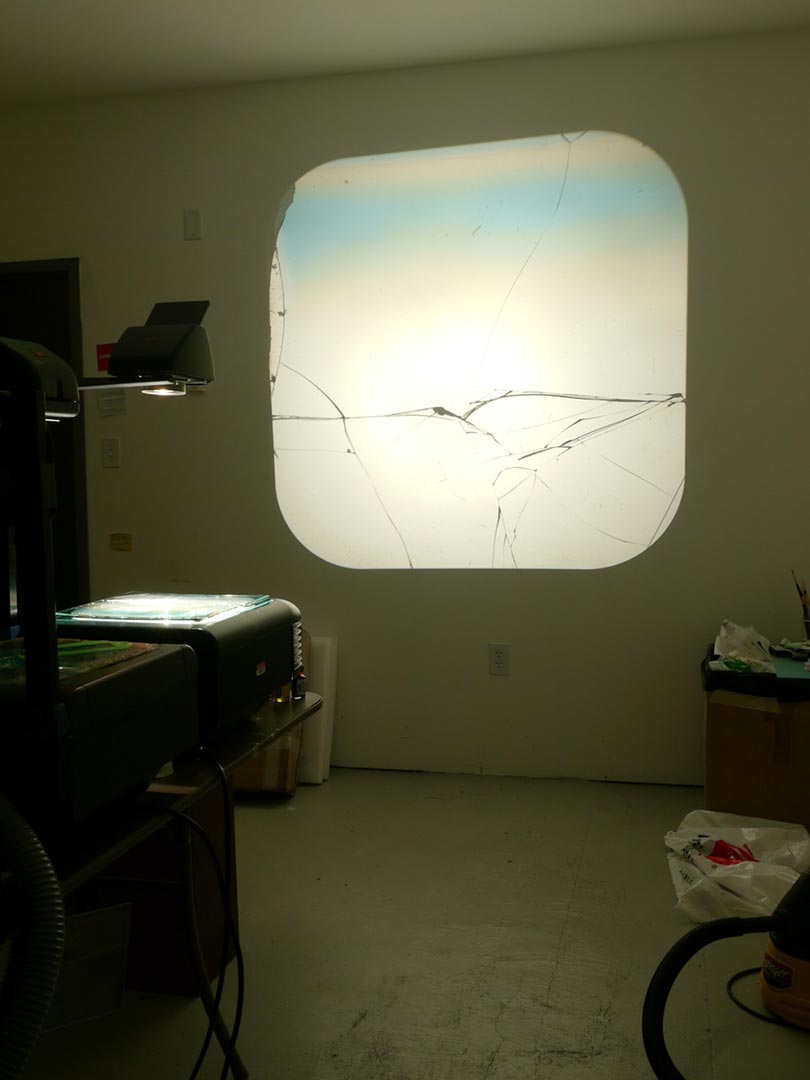
Many people have noticed that when glass is broken, it makes very interesting patterns. A quick google image search for “broken glass photos” yields hundreds of results. Most, if not all, of these images are taken with a camera and macro lens. However, I noticed something different one day, when I placed a broken windshield on top of a high school overhead projector. Something about projecting light through the glass, made the cracks appear to look almost like lines drawn in ink, or pencil lines drafted with a French curve. The shapes were also wonderfully whimsical and were already arranged in such perfect compositions.
.
This was a wonderful discovery. But what to do with these images? I did not just want to create projections, but wanted to capture these images electronically to print as photographs. This lead down a very long road of experimentation- how to capture them? But first, how to get a sharper image? The overhead projector was not so good.
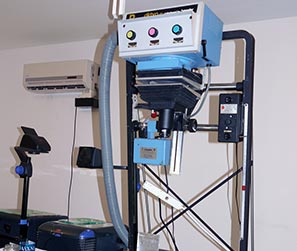
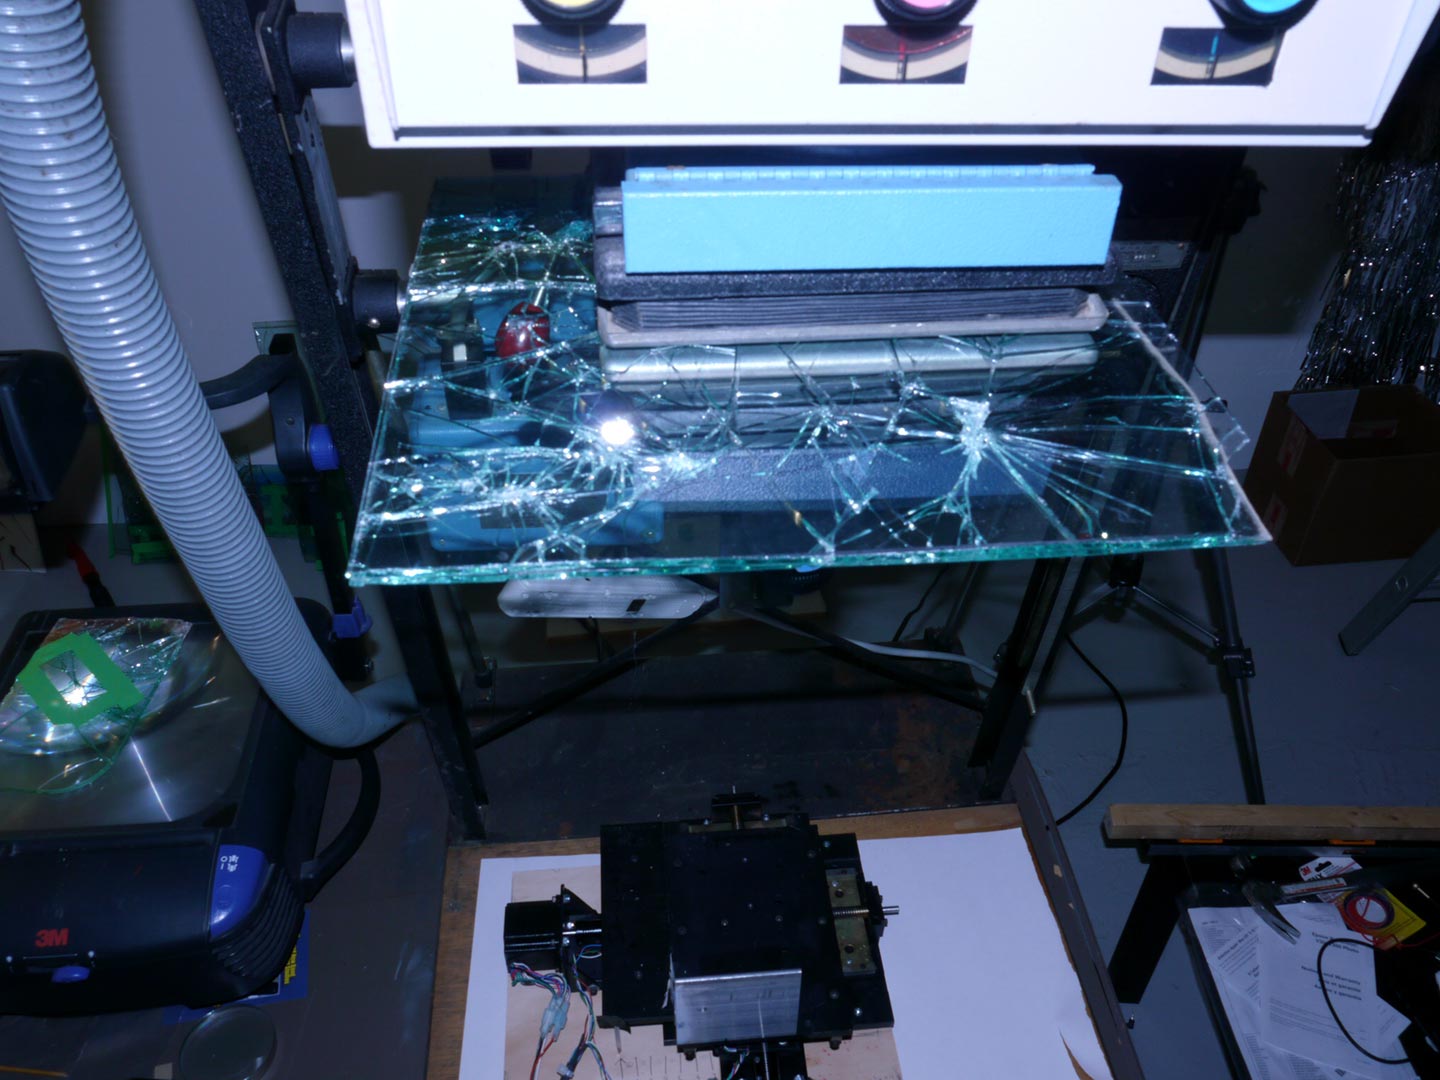
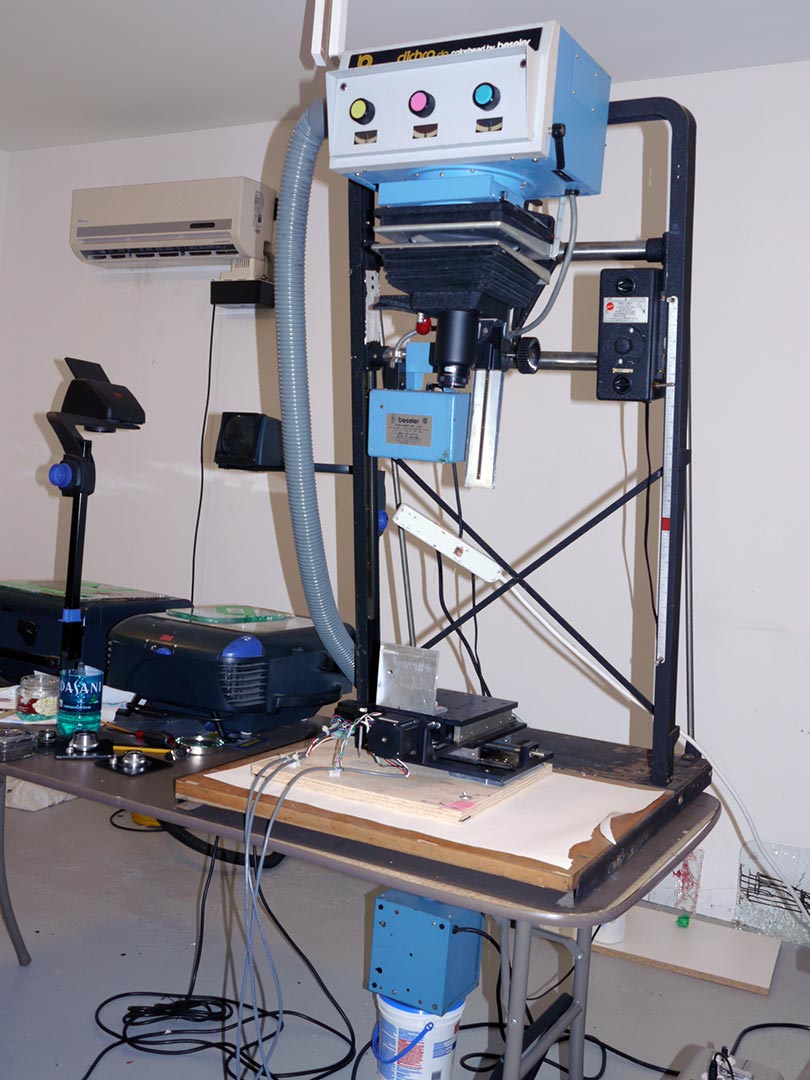
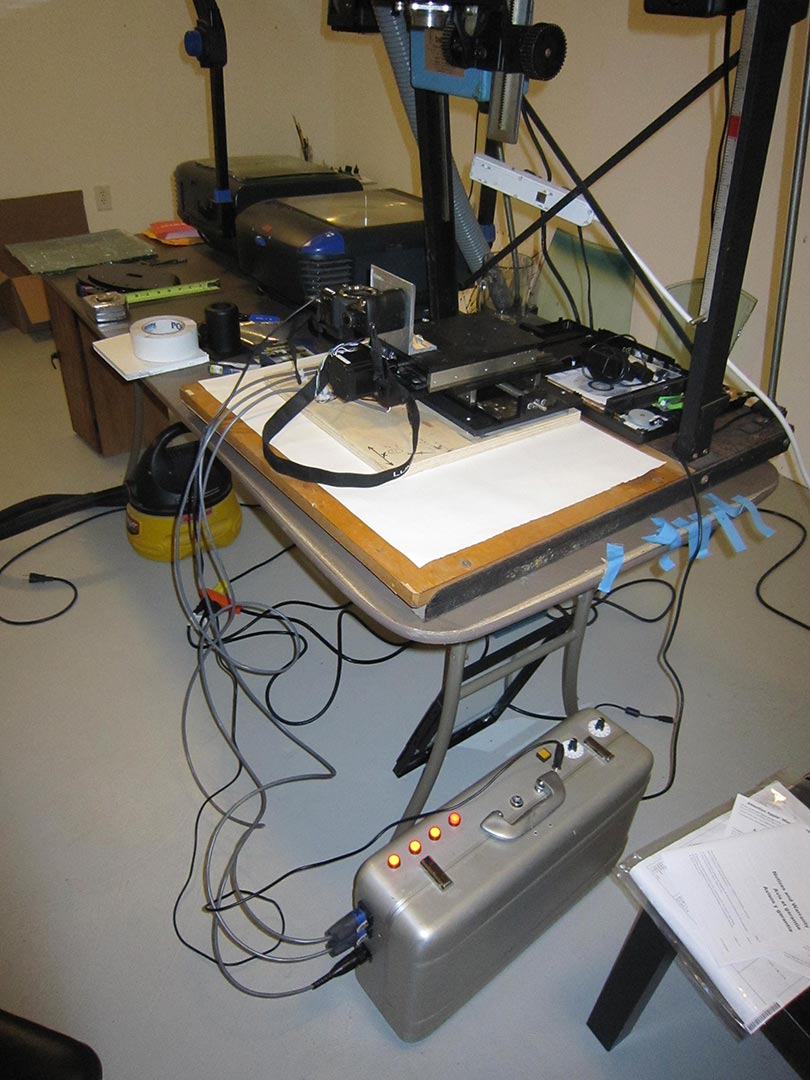
Eventually what I came up with was to purchase an old enlarger. Then, I put the broken glass in the negative carrier. Voila! I had a projection setup capable of extremely sharp images- unlike the overhead projector. Next step was to figure out how to capture the images.
.
Normally with an old school enlarger, you focus the image on a piece of photographic paper which sits at the baseboard. I really did not want to mess with setting up a whole darkroom, and I preferred to capture the images digitally anyway, because I wanted more precision.
So, I took a digital camera, took off the lens, and pointed it upwards towards the enlarger lens. The enlarger therefore would focus its projection directly on the camera sensor. Perfect!

.
Well, almost perfect. The projection from the enlarger was nearly 16 square inches, and the sensor was only about .5 square inches, so I was only capturing a small fraction of the image.
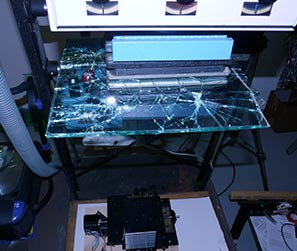
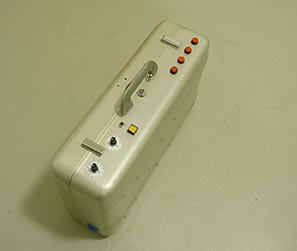
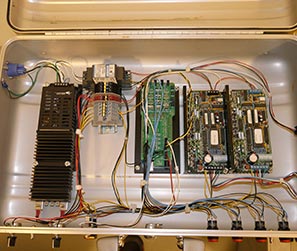
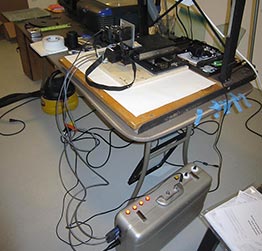
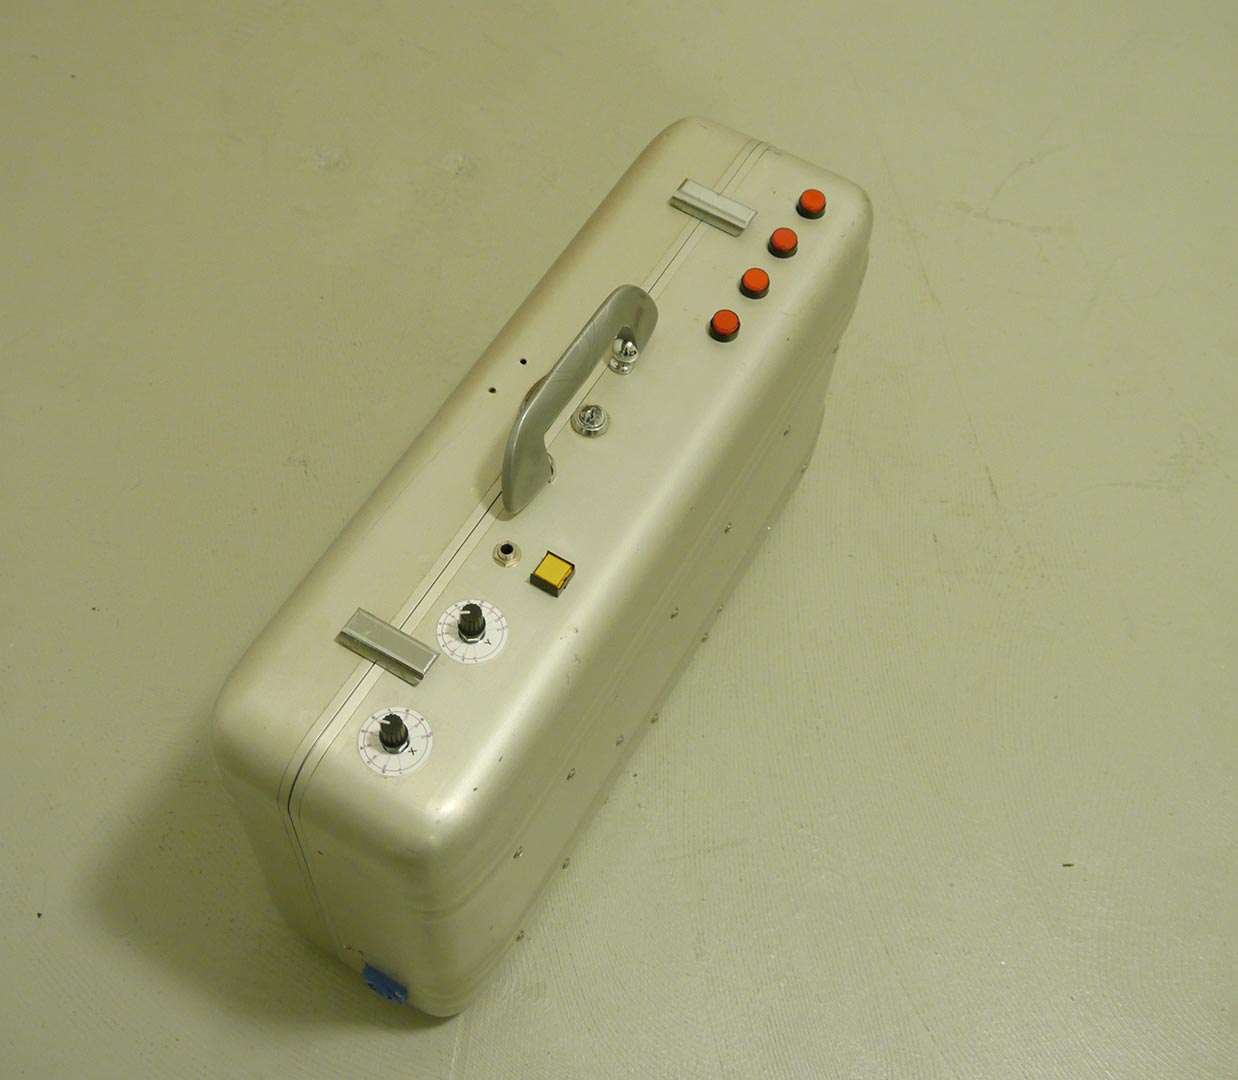
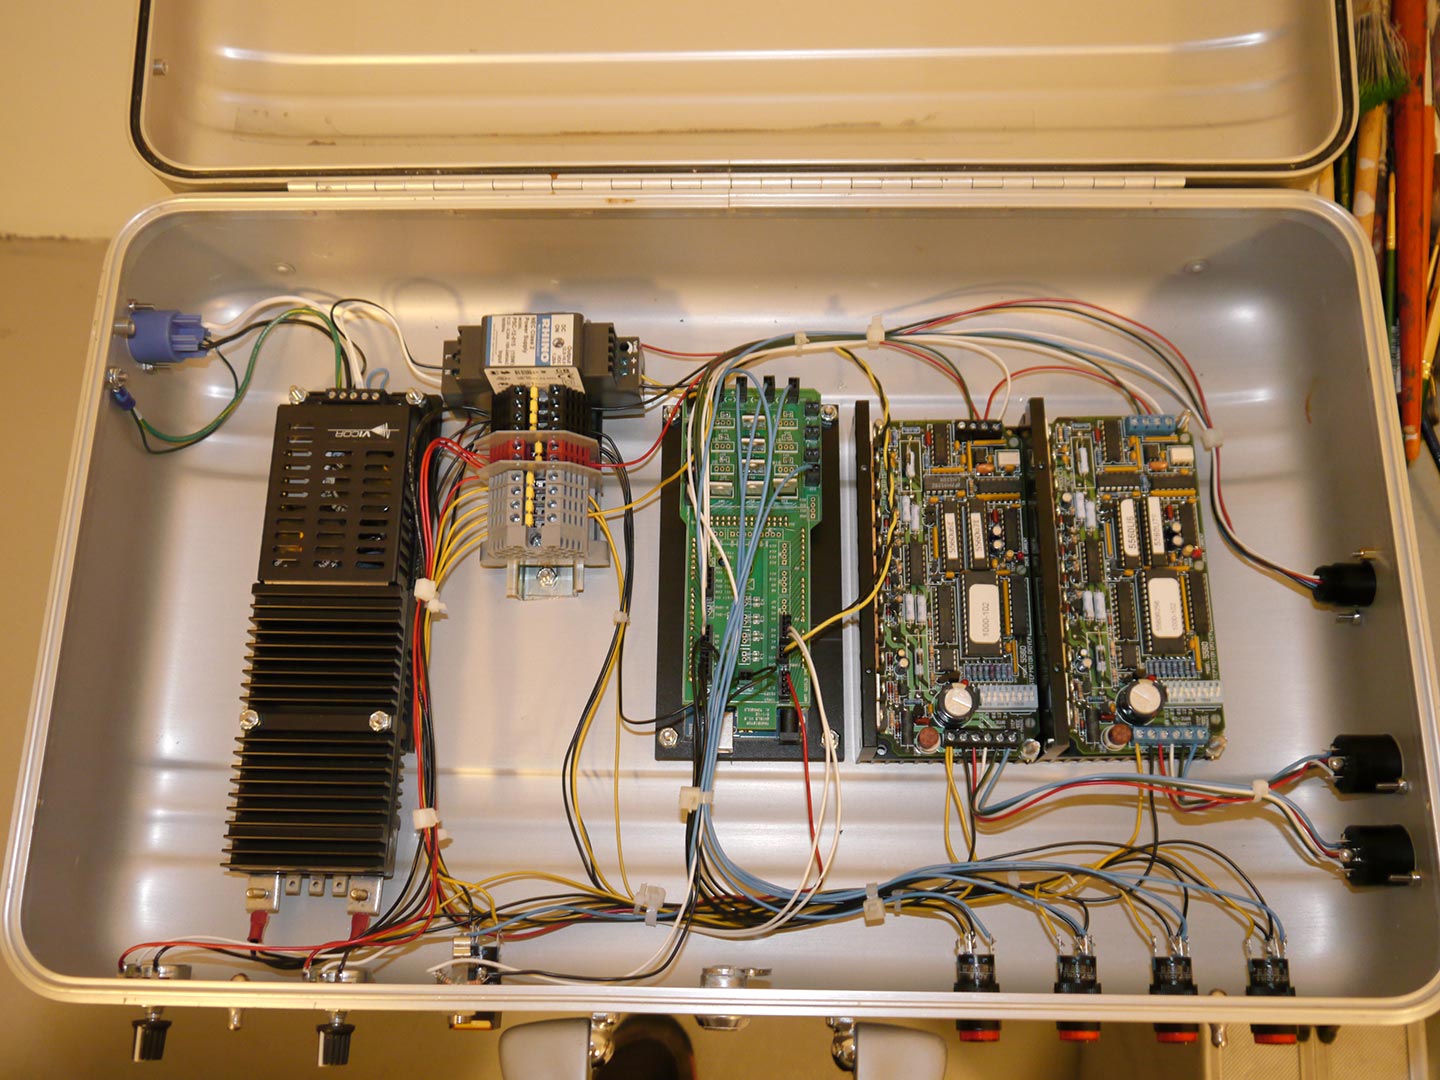
So, I had to attach the camera to a motorized XY table, and build a controller so that the camera could move robotically across the projected image. Essentially, I had to build a custom scanning device that took multiple pictures from the projection, and then stitch them all together. I built all the controls into a 1960's flight case that I found.
.
The video below shows the contraption in action. Each final single image consists of somewhere between 64 and 130 total pictures which are then stitched together. The final resolution of each final image is around 1 gigapixel, and has enough resolution to print an 8FT square at 300dpi.